

You will need...

3/8 yard each of:
Cotton print for outer part
Cotton batting
Terry cloth (or just use a towel)
Scissors
Needle
Thread
6'' of ribbon
Button
Pins
Sewing machine
ruler
Directions:
1) Cut the terry cloth into a 30''x14'' rectangle and a 9''x14'' rectangle.

2) Cut the batting into a 30''x14'' rectangle.

3) Cut the cotton print into a 30''x14'', 9''x11'' and 4''x9'' rectangles.

4) Place the larger cotton print and terry pieces right sides together.

5) Place the batting on top and pin all around. You will be leaving an approx. 9'' opening at the top right.
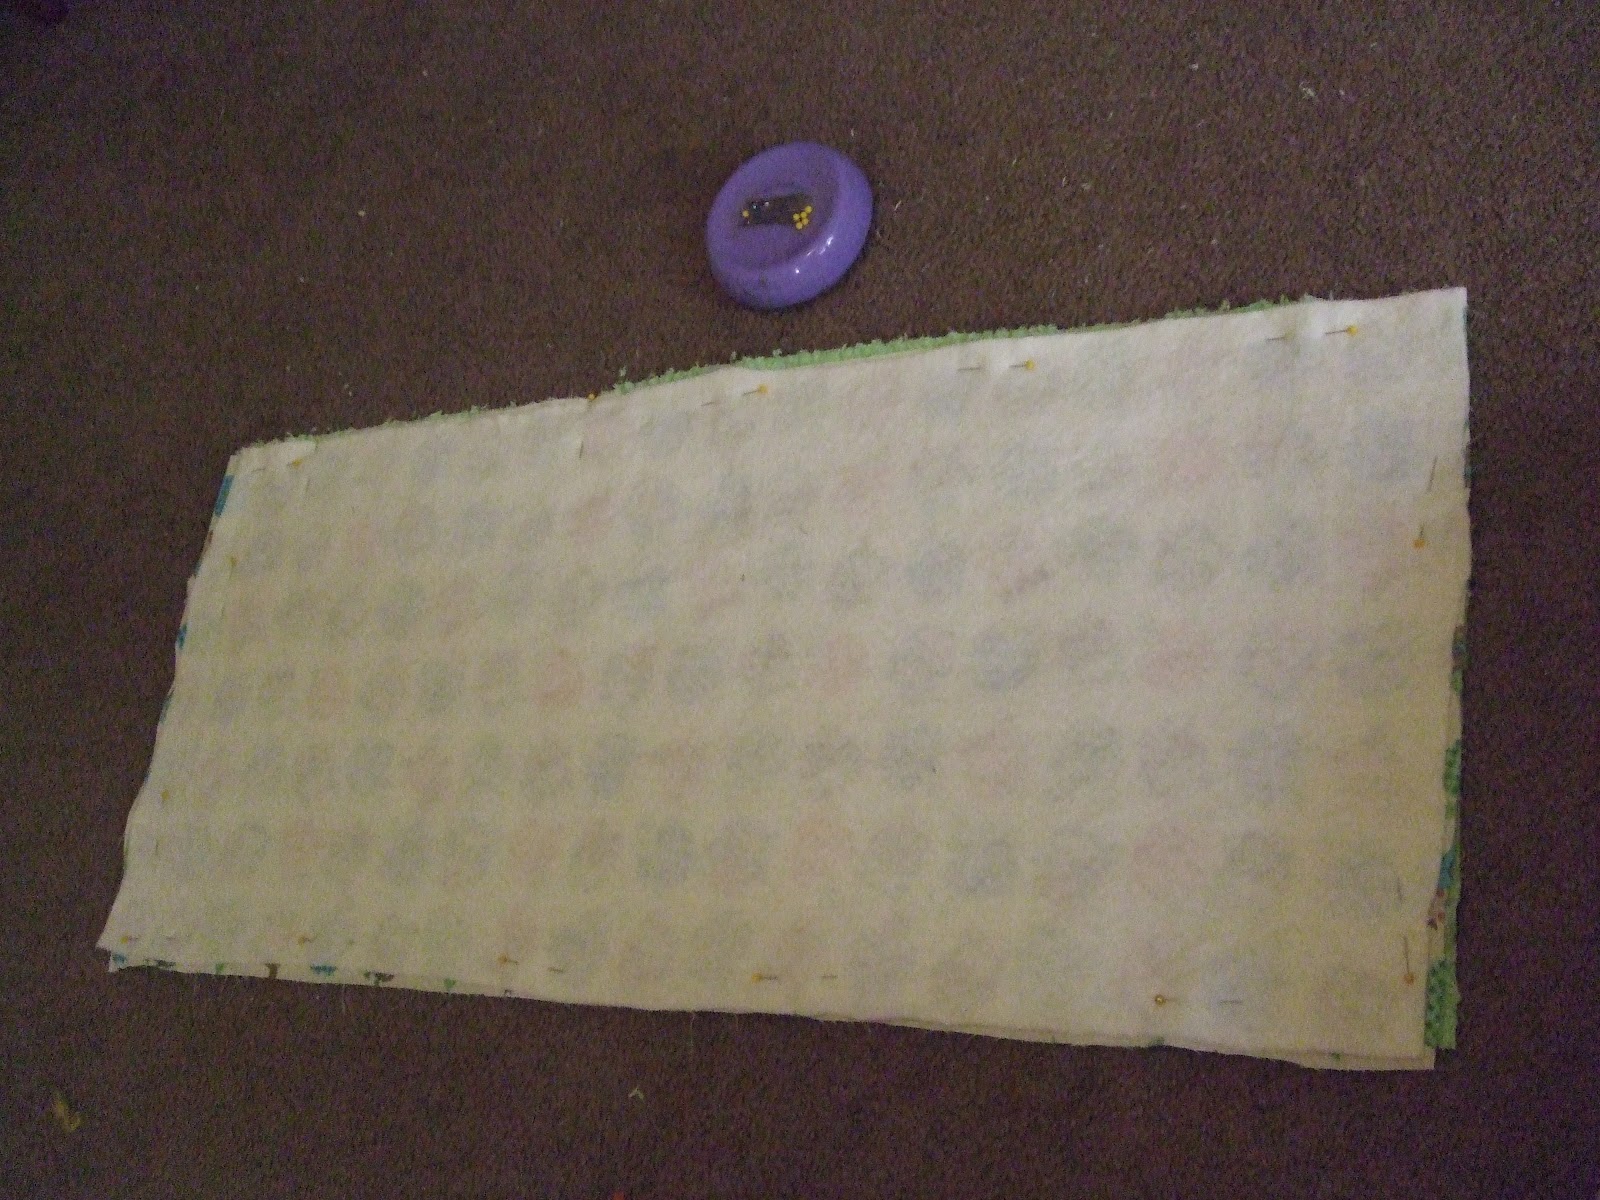
6) Make the ribbon into a loop and slip into the center of the bottom.

7) Sew all round the the rectangle with a 1/2'' seam allowance leaving about 9'' open on the top of the right long side where shown. Clip the corners, turn right side out and iron flat, set aside.


8) Take the next biggest cotton print rectangle iron 1/2'' of the top short side over to the wrong side of the fabric then fold it again and iron flat. Stitch this section down.


9) Fold over 1/2'' of the smallest rectangle to the wrong side and iron.

10) Overlap the 2 pieces and stitch the sides where the fabric is overlapped (approx. 1/2'')

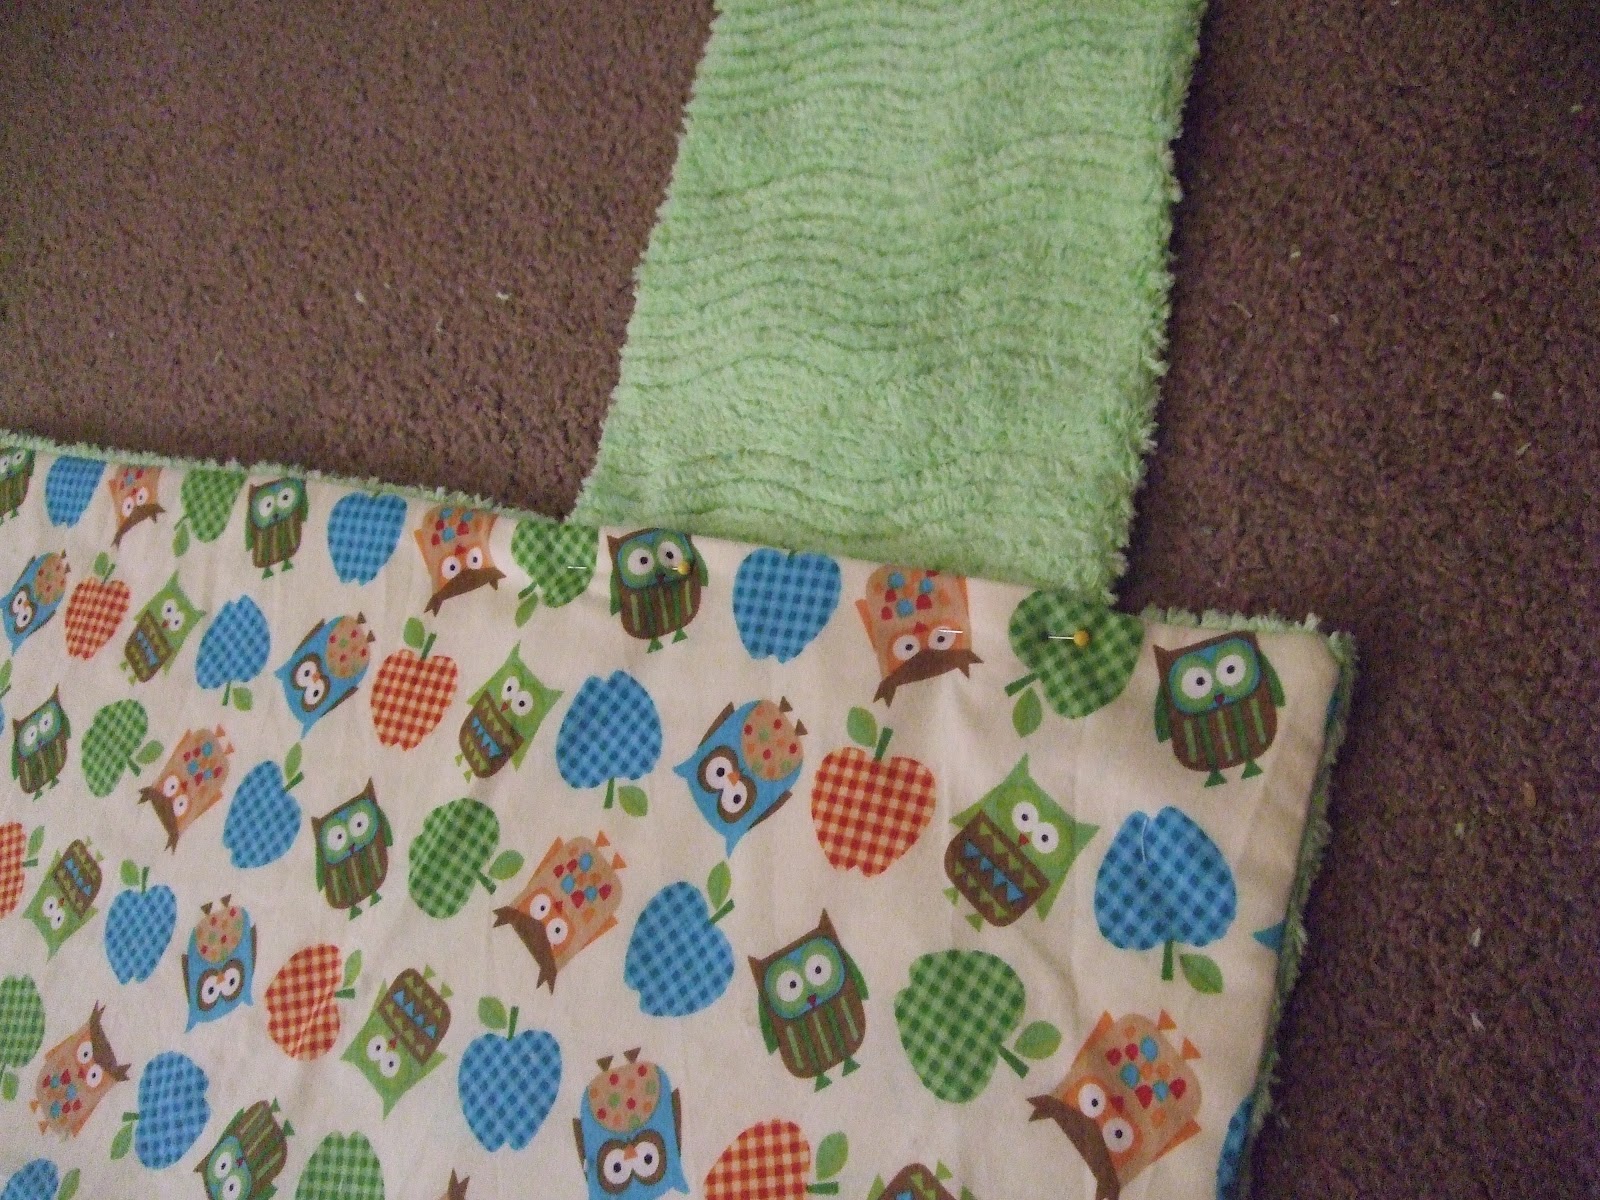
11) Take the terry cloth piece and place right side down on top of the cotton print.

12) Pin together you will not be sewing the top portion.

13) Sew around the sides and bottom, clip the corners, flip right side out and iron flat.


14) Slip the pocket you just created into the opening that was left in the big piece and pin in place.
15) Sew all around the larger rectangle this gives a nice finished quality to the whole thing, stitches the pocket in place and closes the opening!

16) Fill the pocket with diapering essentials.

17) Flip the
pocket to the inside of the changing pad, roll up tightly and mark the
placement for the button, then open the pad back up and securely sew the
button in place.


The best part is the whole thing can be thrown into the wash!


